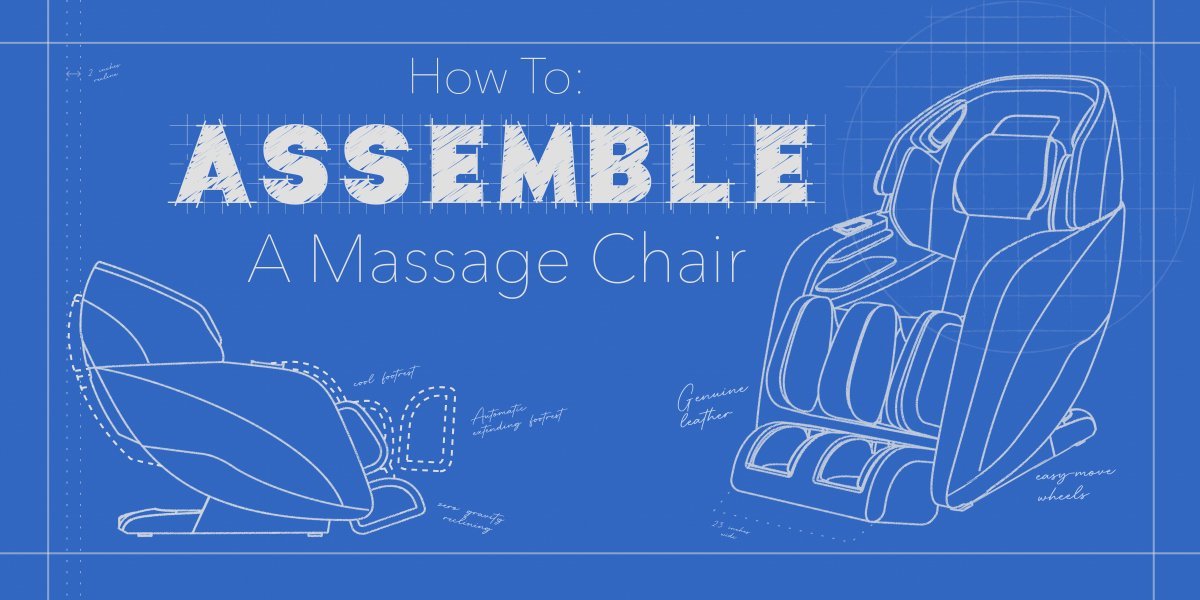
Massage Chairs are large and complex pieces of furniture, therefore, they often come disassembled when they arrive at your front door. When you begin opening the boxes, you may be overwhelmed by the number of components needing assembly. Well, it’s time to relax with this quick and easy guide!
Why Did My Chair Come Disassembled?
Your massage chair came in multiple boxes for a number of reasons. First, to protect the chair itself. Massage chairs are delicate pieces of machinery that shouldn’t be jostled around too aggressively. If your footrest was attached to the chair during transport, then one bad pothole could ruin the whole thing.
Secondly, putting your chair in multiple boxes makes moving it through doorways much more simple and convenient. While most chairs are thin enough to easily roll through standard doors, extra layers of packaging makes this much more difficult.
Lastly, logistically speaking, it is cheaper to send the chair in multiple boxes that can conform to the shape of the shipping container, rather than a singular static box. This means the overall price of the chair for the consumer is the lowest it can possibly be.
How Do I Start Assembling My Massage Chair?
Each chair is different and unique, therefore the assembly process is specialized as well. Before you begin blindly assembling your chair it is recommended that you search for an installation video specifically designed for your model. Nearly all Osaki and Titan Massage Chairs have assembly videos available on Youtube. Infinity, Cozzia, Kyoto, Slabway, and Human Touch have their own assembly resources as well.
Now that you’ve looked for your specific model, let’s begin learning how to assemble your massage chair! This first step is simple, unbox your components and take inventory of what you have.
Generally, you’ll be left with two arm panels, the massage chair base, the footrest, remote control, and the power supply cord. Additionally, you’ll find a number of bolts, washers, and safety clips - most of the time you’ll be given more than you actually need in the event that you lose one or two.
Some chairs will come with the arm panels already attached, while others come with the footrest pre-attached. In either of these cases, you shouldn’t need to do any extra work on these pre-installed sections.
How Do I Connect My Massage Chair Remote?
To attach your remote, look around the edges of the massage chair’s seat for the female connection. Usually this will be on the right or left side, simply find the connection that matches your remote and attach.
Some remotes have an additional safety measure to ensure the remote stays connected, so you’ll need to screw the two together once the wires are plugged in.
How Do I Sit Up My Massage Chair?
Some massage chairs arrive in the reclined position, manufacturers do this to make the packing more ergonomic and logistically-friendly. It is optional on most chairs to sit it up while attaching the side panels, but you’ll need to do this for the legrest.
To sit up your massage chair, make sure your remote is already plugged into the chair’s base. Then, at the rear of the chair, plug in the power supply wire, and flip the power switch.
Usually this will automatically make the chair return to its upright position. If not, pressing the corresponding button on your remote will sit the chair up as well.
How Do I Attach the Armrest Panels to the Massage Chair?
When assembling your massage chair, it is generally helpful to install your armrest panels first, and your footrest second. This is primarily because some of the common bolting locations for the panels will be inaccessible once the footrest is installed.
1. Pick-a-Panel: Begin by establishing which panel goes on what side. This should be fairly obvious, but if not, just reference the box or photos of the chair online and attempt to replicate that by reorienting the panels.
2. Find the Track: Next, establish how the panel will rest on the chair’s tracks. Most chairs will use tracks that you can slide the panels into place on, the panel should rest here easily while you attach the air hoses, wires, and bolts.
3. Locate Hoses & Wires: Before you actually slide and lock the panel into place, find your air hose(s) and wire harness(es). These are the components that will power the shoulder, arm, and hand massages associated with each armrest. In other words, they are very important.
4. Locate Panel Connections: Find the same connections on the panel itself, notice any numbers or lettering that will distinguish the connections from each other.
Most of the time, your air hoses will be labeled "1, 2, 3, etc...", and your wire harnesses will be color-coded if you have multiple. So if you have two hoses, look for the cooresponding connections on the panel labeled "1 & 2", and just connect the similarly-colored wires together.
5. Making Connections: Now that you know where everything is, you can start making the connections! This part in particular can be rather difficult, so you may need a helping hand to hold the panel whilst you make the connections.
6. Bolt the Panel: Lastly, locate all of the bolt locations on the panel and screw them into place. There are usually two of these on most panels, but some have as many as four, or none at all.
7. Repeat: Simply repeat that for the remaining panel and you’re all set!
How Do I Install the Leg Rest On the Massage Chair?
Installing the footrest onto your massage chair can be difficult, but once you know what you’re doing, this is one of the easiest parts. If you haven’t already, you’ll want to make sure your chair is no longer reclined, if your chair is reclined during this process your life will be needlessly difficult. We’re here to relax, remember?
Similarly to the arm panels, we’ll start the assembly process by attaching the wire harness(es) and air hose(s). This process is much more straightforward than it was on the panels; the hoses and wires will either be attached to the chair base, or the footrest unit. Simply locate those and properly attach them.
Leg rests on massage chairs come in many different styles, so today we’ll look at the two most common: the hook & slide units; and the latch & bolt units.
Hook & Slide: These units can be awkward, they require strength and precision. First, you’ll locate the hooks (rods) on the chair, and the connector on the footrest. Simply lift your foot rest up and slide the connectors onto the chair’s hooks.
To secure the connections you’ll need to use the safety clips provided with the chair. These take many forms, but the most common and niche would be the ‘D-Clips’. To use a D-Clip, just line up the inlet on the bottom of the clip with the rod, then push down.
Latch & Bolt: These setups are much simpler than the Hook & Slide units. On these leg rests, simply locate the latches on the chair, then the rods on the legrest. Afterwards, just lift the unit up and rest it into place.
To secure the latches, just bolt them closed with the remaining bolts that came with your chair. Lastly, just zip up the leather cover and start relaxing!
Infinity Massage Chairs aren’t too different from other popular models on the market, this guide answers how to easily attach the Infinity’s armrests, footrest, and even the remote!
How Do I Assemble Osaki Massage Chairs?
Osaki Massage Chairs are the industry standard these days when it comes to assembling chairs. As such, connecting the remote, arm panels, and leg rest of an Osaki Massage Chair is covered in this easy-to-follow guide.
How Do I Assemble a Slabway Massage Chair?
While Slabway’s chairs do differ from more popular models on the market, the installation process is still very similar. Follow this simple guide to quickly assemble your Slabway’s arm panels, remote, and legrest!


Comments
Leave a comment